Friday, 13 December 2013

WIP (Work In Progress) Project 3 Animation Rendering with 3ds Max

This Animation Rendering project is about rendering every single frame which basically is 30 frames per second. This Project also still using the last project 3d model and this session, I did some changes which is adding more light by using Omni light and also using Mr. Sky Portal.
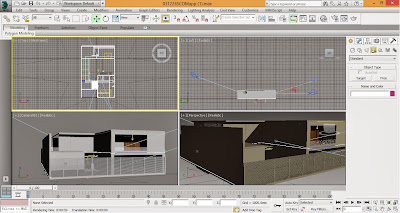
Some addition which is the most important in this project is, I added some camera movement by using auto-key into the 3d model.

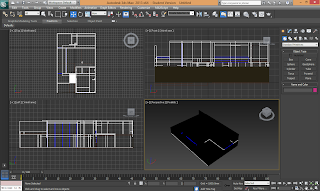
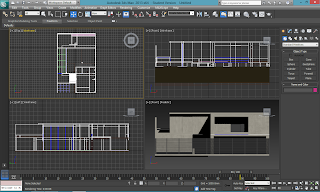
This is some of the Progress with 3ds Max in making the animation product.
i.Setting the Camera View

ii. Rendering Process after finishing Final Gather Point

For the Animation Product that I chosen to render is 640x480. I also did Final gather point to make the rendering faster.
Below is the Animation product that i've upload via Youtube.

for the 3ds file, can be access by this link https://www.dropbox.com/s/w7rbmgu176uq7p4/renderfinal0312245.max

Friday, 22 November 2013

3ds Max Interior Rendering WIP

After the Exterior Rendering, This is the Interior rendering session which is also including the furniture. Using the same building from the first project, I choose Living room and Bed room for the rendering space.

this is the progress by using 3ds max which i arranged the lights and the furnitures.
for the first interior view which is the living room area. 
i choose to put sofa, coffee table, guitar and piano as the furniture.
and the bedroom, i put bed, Tv and tv rack, magazine, and a human figure.
for the lightning, i put free light facing inside of the space.
Below is the progress on how I arrange the furniture and the light.
i. progress of the 1st space which is livingroom


ii. progress of the 2nd space of my building which is bedroom.


After that, materials is on their way to cover the furniture, wall, stairs, floor, window and the door which after that I proceed to the rendering process.

The rendering product of my living space of my building.

The rendering product of my 2nd space is the bedroom. which is on the second floor of this building.


below is the additional product of my rendering that is the same space which is living room and bedroom.


Living room


 Bedrooom


Wednesday, 23 October 2013

3Ds Max Exterior Rendering WIP

The next phase for this project is about rendering the exterior which i have done in last project. In this stage, I added some additional element which is lights and the daylight. I also put some camera to express the view from eye level view as well as Bird eye view. Below are progress/ the steps which leading to the rendering.

i. After  I added the cameras. This picture below is the camera which is showing the bird eye view from the front of this building.


ii. After the camera that showing the front of the building with a bird eye view, I also put a camera with a bird eye view but in the different orientation which is showing the view from the backside of the building.


iii. The picture below is the rough rendering for the bird eye view which is showing the front side of the building.


iv. As we can see, the point of view to the building is already different which is not a bird eye view but an eye level view through the building. I put the camera in front the building but not precisely in the middle point because i want to show the right side of the building. 


v. This is the Bird eye view rendering for the exterior of the building without lights.


vi. This is the exterior rendering with an eye level view with a finalized orientation and material for this building.


vii. with a same eye level view rendering, i did some addition which is showing the view and not to forget with the building.

Thursday, 3 October 2013

3ds Max Rendering


In this stage, After I extrude everything from the plans, I import the autocad file into 3ds max software to render the model of the building. The first time the model looks all dark because I have not apply the material to the building. After I apply the materials to the building by dragging the materials to the part of the building, I can see the shape of the building/model. For some addition, I also added some light and realistic texture from the material to the building. For the rendering, I am using a software for rendering in 3ds max called V-ray rendering. Which is very helpful because it gives a real feeling to the model.


i. import the autocad file to 3ds max

ii. putting some material on the model , 
so i can see the model without dark/black colour


here is some progres before the rendering.


Below is the Picture of 5 different angles of the model.


Front Elevation


Back Elevation

Right Elevation


Left elevation


Perspective without light


Perspective with light


Some addition
look into the model/ building


For the 3ds file, can be access from here :)

Friday, 27 September 2013

ARC 2723 [Work Progress]

Computer Application [ARC 2723]
Project 1: Modeling of an Architectural design


On this first project, These are the progress of my modeling of a building which I choose from http://archdaily.com. On this project, firstly, I trace the floor plan from the website by using Reference command. Second, I measure the height of the building by using building elevation drawing as a guidance and then I try to extrude the wall. Third, is about extruding the windows, doors and the stair. Fourth, After i extrude all the wall, floors, windows, doors, and the stair, I join the the first floor with the ground floor and then I extrude the roof on the building.

Tracing the floor plan by using reference image.

extrude the wall by the elevation plans as the reference.

extruding the stair.

windows extruding.

joint the first floor to the ground floor.

make the roof.

perspective view by using auto cad.


Philip Sutejo
0312245